Guide To Choosing Wigs For Small Heads
Are you having trouble finding a wig for a small head? Everyone wants to buy a wig that suits them so that it is not only comfortable to wear but also has the most natural wearing effect. However, many women with small heads and small faces will encounter some difficulties when choosing and buying wigs online, and sometimes buy some wigs that are not suitable for them, resulting in a bad shopping impression, so they no longer want to try more beautiful wig hairstyles.
Finding the perfect wig is not an easy task for many people. However, if you can't choose a wig, that doesn't mean you're missing the perfect wig for your head size. There are a few things you need to keep in mind when looking for wigs for small heads. In this guide, we teach you how to measure your head and tail to get the best wig for you, and we'll give you some wigs to choose from. Plus, you'll learn the best way to wear these human hair wigs.
1. How To Measure The Head Size?
You must use a tape measure to measure the exact size of the head. Measure along your hairline for the perfect size. Once you get a perfect size, the task of finding a wig becomes easier.
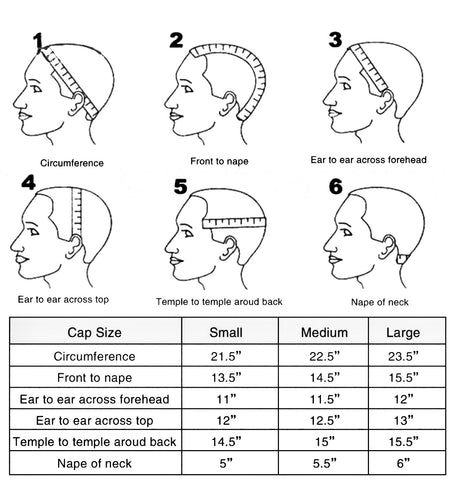
Determining the right size wig for your head starts with understanding the basic measurements you'll need. For the best fit, you want to measure your head in six different ways, being sure to pull back any loose hair first:
1) Circumference
2) Front hairline to the nape of your neck
3) Ear-to-ear across the hairline at the forehead
4) Ear-to-ear over the top of your head
5) Temple-to-temple behind the back of your head
6) Nape of the neck at the back hairline
These measurements all come in handy when shopping for a wig. Similar to buying a piece of clothing, each size represents a different part of the wig. The more precise these measurements are, the better your wig will fit you.
▶ Circumference
Measuring head circumference is probably the measurement most people are familiar with, when it comes to how to measure your head, follow these measurement steps:
1) Starting at the center of your forehead, pull the tape measure back behind one ear, until it reaches the back of your neck.
2) Pull around the back of your neck to the other ear.
3) Meet the ends of the tape measure at the center of your forehead hairline.
4) Record the size.
▶ Front to nape
Measuring the forehead and hairline is an important step in sizing a wig. How to measure:
1) Place one end of the tape measure over one ear.
2) Pull the tape measure up, across the hairline, until you reach the other ear.
3) Record the measurement results.
▶ Ear to ear across forehead
To measure the height above your head, follow these steps:
1) Place one end of the tape measure over one ear.
2) Pull the tape measure up, over the top of your head, until you reach the other ear.
3) Record the measurement results.
▶ Temple-to-temple around back
It's an important measurement that's easy to overlook when you're wondering how to measure your head wig. The steps are as follows:
1) Place one end of the tape measure at the temple on the side close to the eyebrows.
2) Straighten the tape measure back and wrap it around the back of the head until it reaches the temple on the other side.
3) Make sure the tape measure is level and will not fall up and down.
4) Record the measurement results.
▶ Nape of neck
The last measurement is the back of your neck. This is where the bottom of the wig will land. How to measure:
1) Place one end of the tape measure behind one ear, flush with the bottom of the earlobe.
2) Run the tape measure around the hairline or the bottom of the nape until it reaches under the other ear.
You've done the hardest part, taking all the measurements. Now is the time to apply these measurements to different sizes of wigs. While wig manufacturers may have slightly different size conventions, wig sizes generally fall into the following categories:
High-quality ready-to-wear wigs, lace front wigs, and 360 lace wigs often come with adjustable straps and built-in combs to help secure the unit. Even if your measurements don't fall exactly into these categories, you can easily adjust to achieve hair perfection.
2. How To Tighten A Wig That Is Too Big?
If you've already purchased a human hair wig but find that it's too big for you, you're wondering how you can wear it more comfortably and naturally. Luckily, today we're going to show you how to make your human hair wig smaller.
Method 1: Use Adjustment Straps
Step 1: Start by turning the wig inside out. The straps should be located either on both the right and left sides of the wig cap or at the back towards the nape. They usually resemble bra straps, so once you know what you're looking for, it's easy to identify.
Step 2: Adjust each strap individually. Pull the strap towards the center and pull the loose end to make it tighter. Repeat on the other side.
Step 3: Put on the wig and see if it fits. Is it tight enough to stay in place and not move around? Is it too tight to be comfortable to wear?
Step 4: Repeat steps 2 and 3 if necessary. If your wig still feels loose, tighten the straps a little and try again. You'll want to keep adjusting the straps until your wig is snug and snug.
It might take some trial and error, but you'll have a perfect wig after a few tries. Just be aware that these straps will loosen over time. To make sure they stay in place, sew the end of each strap to the wig to keep it from loosening.
Method 2: Tuck and Sew
This is a very quick and easy way to make wigs smaller.
Step 1: Turn your wig inside over and find where you want to make it smaller. Then, make a fold or fold with the two wefts together along the elastic.
Step 2: Sew two to three stitches on the straps, then tie the straps together with knots.
Step 3: Repeat steps 1 and 2 as needed. For example, if your wig is bunched at the back, it may be enough to make some tucks on the three central elastic strips. You may also want to tuck under more than one weft on a strip.
If you make a mistake or sew too many pleats, any stitches you sew can be easily removed. Wear a wig regularly and check for changes in your hair to make sure you're changing the correct areas.
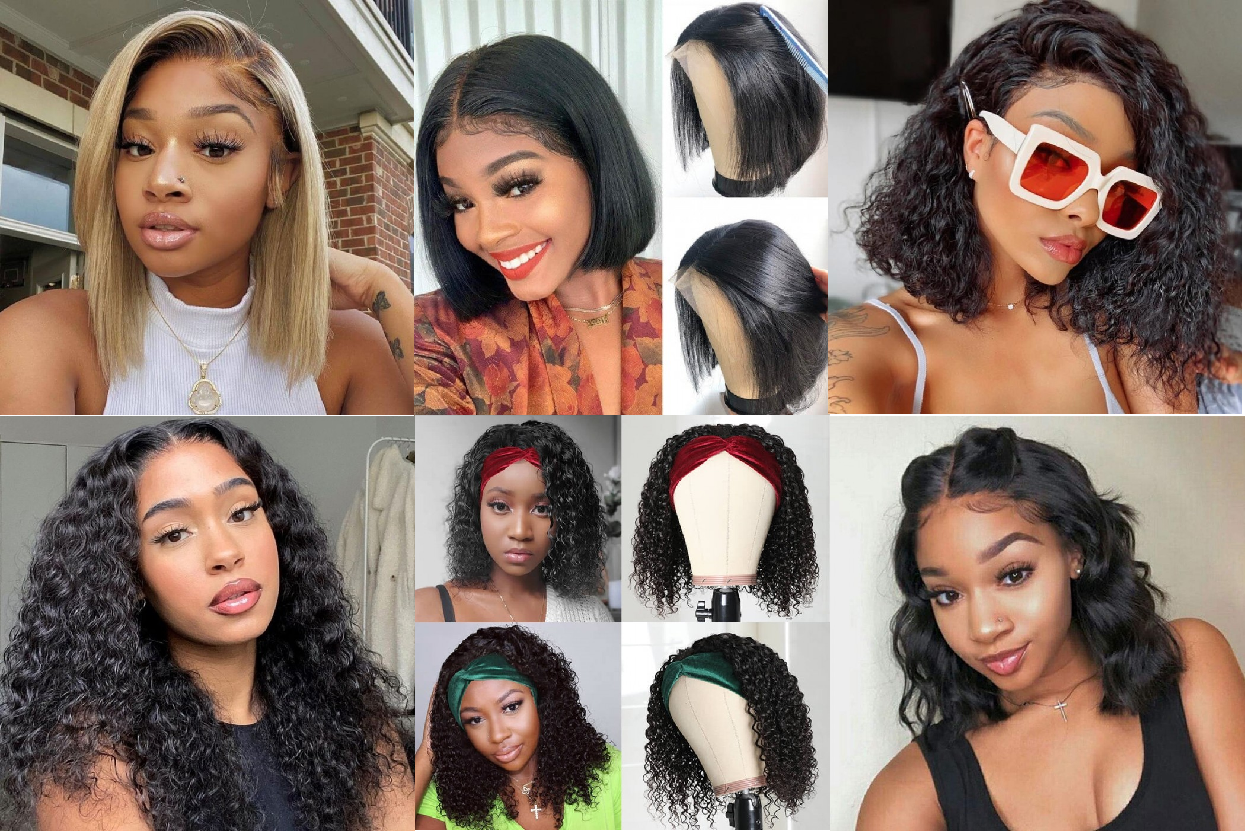
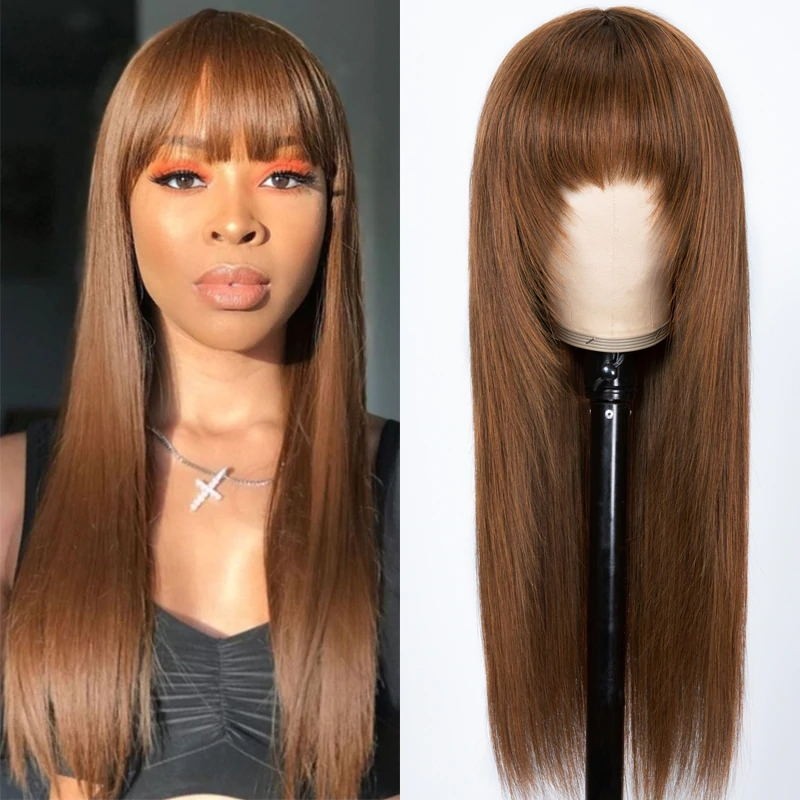
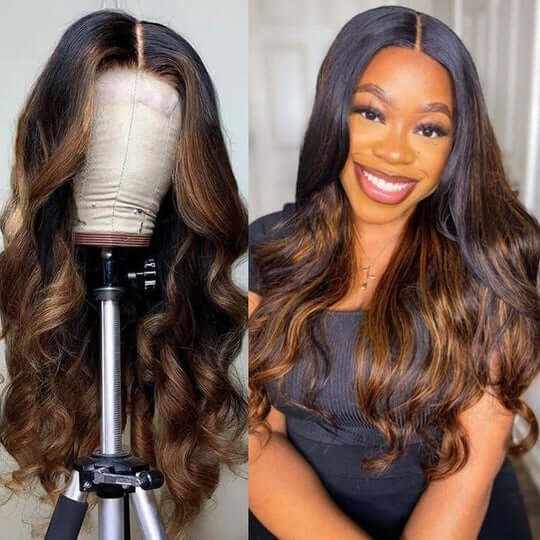
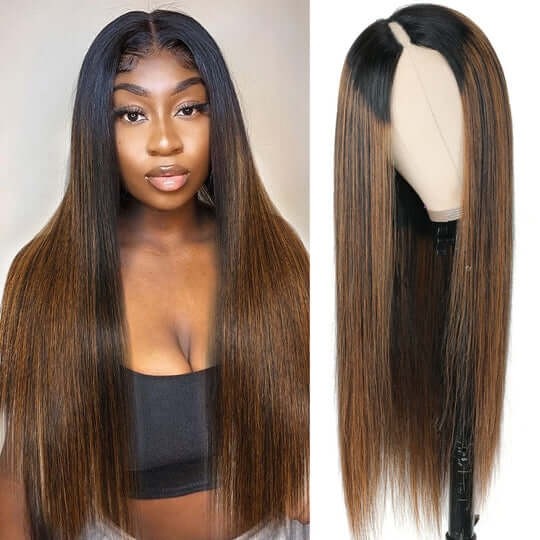
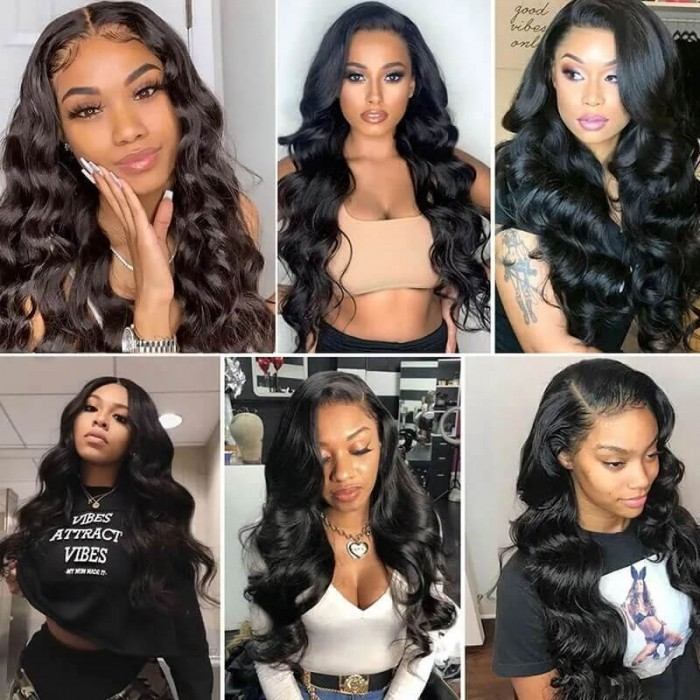
3. Wig Options for Small Heads
Body Wave Human Hair Wig
Jerry Curly Lace Front Wigs

Bob Wigs